Food and Garden Dailies started as a way to record my family's favorite recipes. It has come in handy many times when I'm asked for a recipe. I simply email a link to the blog! But I couldn't just stick to recipes. The kitchen is tied to the garden in so many ways...and so I let you into my ever changing garden as well.

If you're interested in my all-time favorite recipes, check out this post first: My Favorite Recipes

Monday, June 18, 2012

How to Can Strawberry Jam (with Pomona's Pectin)

Pin It


Jam is one of the easiest foods to can.  It doesn't require a lot of prep.  The water bath timing is quick.  If you've never canned before, it's super easy to start with jam. 

Calcium water with Pomona's Universal Pectin
If you've been canning jam with MCP, Sure-Jell or Ball's Fruit-Jell (all readily available), I'd recommend trying Pomona's Universal Pectin.  It's a bit harder to find (our local health store carries it...as does Amazon), but the product is phenominal.  It sets easily without the use of much sugar, using calcium instead. Using Pomona's recipe/pectin I made a double batch with 1 1/2 cups of sugar.  The jam actually tastes like fruit--not sugar.   For the same amount of berries, the Ball recipe required 7 cups of sugar!  YIKES! Another bonus...it lasts forever.  And, if you'd rather use honey or sugar substitutes, Pomona's works with those too.

Before you begin, here is a list of what you'll need:
  • Approved canning recipe. You can't simply take your favorite family recipe and use it for canning. USDA approved recipes (found through extension service websites & publications or through updated cookbooks, like the Ball books) are what you need. To avoid botulism or other food-borne illnesses, following the recipes precisely is important. If you use different proportions, add or delete ingredients, your recipe may not be safe to can. But unless you completely understand the science behind the recipes, stick to them as written.
  • Water bath canner w/rack
  • Jar lifter
  • Canning funnel
  • Magnetic lid lifter
  • Canning/mason jars. Again, no substitutes. You can't use pickle or mayo jars. You can use used canning jars (Kerr & Ball are common brands) but check for nicks and cracks.
  • Stock pots: Large and small
  • Canning lids (the flat pieces): These cannot be re-used.
  • Metal canning bands: These can be re-used, as long as they're in good condition (not rusted).
  • Knife
  • Cutting board
  • medium bowl
  • small bowl
  • Measuring spoons
  • 4 cup measuring bowl
  • strainer
  • strawberry huller
  • Plastic knife
  • Potato masher  
  • 2-3 qt. pot
  • 2 qts. strawberries
  • Pomona's Universal Pectin
  • 3/4 - 2 C sugar*  (I use 3/4 cup)

Strawberry Jam

(Low Sugar or Honey recipe for Pomona's Universal Pectin)

Yield:  4 cups (can double or triple recipe)

Before starting, I like to highlight the recipe I'm using.  I've made mistakes before where I start off with one recipe, and accidentally finish with another.  To avoid this, the highlighter comes in handy.  If you're not as scatter-brained as I am, you can skip that step. 

1.  Wash and rinse jars; let stand in hot water.  Wash lids and rings; keep lids hot in a pan of hot water (not boiling).

2.  Fill up the water-bath canner** (about 2/3 full) with water, place the basket handles over the rim (so that it's ready to be filled), put the lid on, and start heating it up.


3.  Wash and hull strawberries.  Mash the berries and measure out 4 cups.  Pour into a pot.

4.  In the small bowl, make calcium water by adding 1/4 tsp. calcium powder (little packet in box) with 1/4 cup water.  Mix well before using. Leftovers can be stored for several months in the refrigerator.

5.  In a medium bowl, measure out the sugar* (3/4 - 2 cups...I use 3/4 cup) and mix in 2 tsp of Pomona's pectin powder (larger white packet from the box).  Mix well.

6.  Bring the strawberries to a boil.

7.  Add the pectin/sugar mixture and stir vigorously 1-2 minutes to dissolve the pectin.  Return to a boil and remove from the heat.

8.  Once the water in the canner is at a full boil, the jars and jam are hot, you are ready to start filling the jars. I take one jar at a time out of the pots (dumping the contained water in the sink) and place it on a towel next to my pot of jam. I place the funnel on the jar and immediately fill with jam, stopping 1/2" from the top.

9.  Using a plastic (not metal...it can damage the jars) knife, poke it along the sides of the jar to remove any air bubbles. Re-fill a bit if necessary. Take a small piece of the paper towel, wipe the rim. Using the magnetic wand, get a lid out of the pot and place it on your jar. Hand-tighten a metal ring around the top, and it's ready for the canner.

I like to quickly prepare two jars at a time, and add them to the canner simultaneously. As the jars are added to the canning basket, it's important to keep it balanced, or the jars will topple over.

Keep preparing jars two at a time, and add them until the canner is full. Carefully lower the basket. When the canner is full, make sure you have a couple inches of water over the jars. If you don't, add more water. Bring the water to a full boil, replace the lid, and set your timer for 5 minutes.***  Remove the canner lid, and remove your jars, placing them on a counter/table lined with a towel. Do not place on a wooden table or your table will end up looking like this:

Repeat until all the jars have been processed.

Leave the jars untouched for 24 hours. After that time, you can take off the band (some keep it on) clean the bottles, label the top, and place in your pantry.

Once opened, the jam will last about 3 weeks in the refrigerator. 

* Instead of sugar you can also use 1/2 -1 cup honey.
** I used to can on my stove top. The benefit to that is that it's faster, as everything is close by. The drawbacks are that 1) it's messy...my stove has a ton of dried on steam that turns brownish black and is a pain in the rear to clean, 2) the stovetop is crowded, and 3) it heats up the house. Instead, I get out our Camp Chef stove. Brian bought this for brewing, but I borrow it for canning.
***Add 1 minute of time for every 1000 feet above sea level.
From this:

To this:


Summer Goal: Weekly Grilled Pinterest Recipes

Pin It Yes, I love Pinterest.  Who doesn't??  Over the past several months I've collected dozens of recipes to try.  Many are scrumptious looking desserts which will likely never be tried, because, really....we just don't make desserts that much.  But main dishes for dinner?  That's a reality.  Especially grilled food...'tis the season!

So this summer my goal is to try at least one recipe from Pinterest each week (preferably grilled), and then post the recipes and reviews here.  I'm not sure which one I'll start with, or what order...but below are some of the recipes I hope to make this summer.

Do you have a favorite grilled chicken or beef recipe? Please share.... I'd love to know!!
Skirt Steak Korean Marinade
Skirt Steak Korean Marinade from cHow Divine
RECIPE #6:  I kinda' petered out over the summer.  But I made these this week on 10/9/12.  Couldn't find skirt steak, so I just made some with sirloin. VERY good flavor. Will definitely make again. Also, I made the effort to find a good Mirin...not the Aji Mirin sold by Kikkoman. 

Grilled Skirt Steak with Cilantro Chimichuri
Grilled Skirt Steak with Cilantro Chimichurri from Sage Recipes

Grilled Chipotle-Rubbed Steaks with Lime Butter
Grilled Chipotle-Rubbed Steaks with Lime Butter from Food & Wine and  Serious Eats
***RECIPE #2:  Made the Grilled Chipotle-Rubbed Steaks on 6/21/12.  Oh, my goodness these were good!  Great garlic/lime flavor...but not overpowering.  Quick and easy to make at the last minute.  Will definitely make again!***  Click here to read my full post.
Spicy Honey Chicken - The Girl Who Didn't Eat Everything? | The Girl Who Ate Everything
Spicy Honey Chicken from Our Best Bites via The Girl Who Ate Everything
***RECIPE #1:  Made the Spicy Honey Chicken on 6/20/12.  Overall impression:  Quite good.  Simple to make.  Will make again.  Not as spicy as I'd like...will kick up the spicy-ness next time.*****  Click here to read my full post.

Afghani Murgh (chicken) Malai Kebabs with Cumin Flavored Rice
Afghani Murgh (chicken) Malai Kababs with Cumin Flavored Rice from Look Who's Cooking Too
 
RECIPE #7:  Also made this in the fall, but, heck...I made it!  Good subtle Indian-type spices on the chicken.    For the rice I forgot to buy cumin seeds, so I used a little ground cumin in their place.  The rice also had a subtle flavoring. Overall, no fabulous, but a solid good.

Thai Chicken with Hot-Sour-Salty-Sweet Sauce
Thai Chicken with Hot-Sour-Salty-Sweet Sauce from Food and Wine

Grilled Rosemary Chicken Kebabs with Sweet and Sour Orange Dipping Sauce
Grilled Rosemary Chicken Kebabs with Sweet and Sour Orange Dipping Sauce from Tracey's Culinary Adventures
***Recipe #5:  Made the Grilled Rosemary Chicken Kebabs on 7/7/12.  Pleasantly surprised with the flavor punch from such a simple (and easy) marinade.  The dipping sauce was great when a dash of Siracha was added to it!  Definitely a winner!  Click here to read my full post.

Grilled Tequila Lime Chicken
Grilled Tequila Lime Chicken from The Fresh Plate
***Recipe #3:  Made the Grilled Tequila Lime Chicken on 6/27/12.  It was OK.  The husband said, "Good", but it wasn't an earth-shattering amazing recipe.  Would I make it again?  Well, yes, because I made some for the freezer.  But I don't think it will make it into the regular rotation.***
Honey-Lime Chicken Skewers
Honey-Lime Chicken Skewers from  Kitchenmeetsgirl.com
***Recipe#4:  Made the Honey-Lime Chicken on 7/4/12.  AMAZING!  The honey-lime-cilantro-garlic flavors came shining through with a kick from the Siracha.  Will DEFINITELY make this again.  Bonus...you can marinate the chicken and freeze it.  That's my kind of cooking!***  Click here to read my full post. 


Cilantro Thai Chicken by Artsy-Foodie, via Flickr
Cilantro Thai Chicken from Artsy-Foodie


Saturday, June 16, 2012

Exfoliating Citrus Salt Scrub

Pin It I know, I know...this "recipe" is a bit outside the box for me.  But I was so excited to share it, because it's 1) easy, 2) very inexpensive, and 3) a GREAT gift idea!

I was first inspired by this Pinterest post.  I will admit what first caught my eye was the color...I'm a sucker for a lemony yellow.  Then I started googling all sorts of salt and sugar scrubs.  Here's what I learned:  You need a carrier oil, salt or sugar, and then a fragrance.  The carrier oil will be your base oil.  Some suggestions are cocount oil, olive oil, jojoba oil, sunflower oil, hazelnut oil, or grape seed oil.

Next you'll need sea salt, which is easily available.  Mine have been made with regular sea salt because it's inexpensive and easy to find.  I'd like to make some with dead sea salts, but have been a little leary about ordering online because some of the reviews I've read aren't so great (i.e. companies selling plain sea salt and just calling it dead sea salt). Sugar can also be used instead of salt.

The recipes usually call for one cup of the sea salt and 1/4-1/2 cup of the carrier oils.  Some scrubs are oilier than others.  This is one area where you can experiment a bit.

After that, comes the fun stuff:  essential oils (like peppermint or lavender) or other scents (like lemon and orange).  The fun part is you can really play around.  If you add too much of one thing, you can just add a little more salt or oil to even it out. 

Today was the first time making a scrub.  I made it as a gift for a friend, and it turned out great!  I LOVE, LOVE, LOVE the smell and the lemony yellow color.  I simply added a ribbon and tag and the gift is ready to present.

Exfoliating Citrus Salt Scrub

Mix together:

1 cup sea salt
1/4 cup organic coconut oil (I got mine at Trader Joe's...great price!)
1/8 cup extra virgin olive oil
1/2 tsp fresh lemon juice
1/4 tsp lemon zest
1 tsp orange zest


Place in a decorative jar (canning jars work great) and you're done!

Tuesday, May 22, 2012

Perfect Blueberry Muffins

Pin It
In my quest to find the perfect blueberry muffin, I've tried several.  Some have yogurt.  Some buttermilk or cream cheese.  These use sour cream.  What I love about these muffins is that they're light and airy.  Moist, but not dense. 

Recently I offered a dozen of these for a school auction.  Imagine my surprise when they pulled in $60!  For a dozen!  When I baked them for the lucky recipient, I doubled the quantity, and made some for our family as well.  They're simple to make, and a great way to use up all the frozen berries I purchased last summer!


Perfect Blueberry Muffins 
(adapted from Cook's Illustrated)

Preheat oven to 375 degrees F.  Line a muffin tin with 12 paper liners.

In a mixing bowl, cream:
     5 TB softened unsalted butter
     1/2 C sugar

Add and mix together:
     1 large egg

Add and mix together:
     3/4 C sour cream (or plain yogurt)
     1/2 tsp grated lemon zest

Mix in a separate bowl and then add to the butter mixture:
     1 1/2 tsp baking powder
     1/4 tsp baking soda
     1/4 tsp salt
     1 1/2 C all-purpose flour

The dough will be thick.  Fold in gently by hand:
     1 1/4 C fresh or frozen blueberries.  (If frozen, there's no need to thaw.)

Use a cookie scoop (the spring loaded kind) to fill the cups.  You can them about 3/4 full...or even a smidge more.  Bake for 25-30 minutes, until golden brown on top.  Cool on a rack and enjoy!!


Mason Jar Salt Shaker

Pin It
I suppose I'm like most Pinterest users...I've collected tons of ideas, but created very little.  I have made a few recipes.  (The microwave popcorn popped in a paper bag has been a favorite around here.)  Today I whipped up something super simple:  a mason jar salt shaker.  The Morton's salt container works just fine.  This is just cuter when I open my cabinet!

To make it, I emptied the salt into a wide mouth pint jar.  Then I used a bread knife to cut through the middle of the salt container.  I used scissors to cut out the entire top.  I placed the round top on a piece of scrap fabric and cut out the circle.  I outlined a hole for the metal dispenser and cut it out.  Then I simply put Mod-Podge on the cardboard circle and the back of the fabric.  I placed the fabric on the cardboard, and covered the top of the fabric with Mod-Podge.  I let it dry, and then placed it on the jar, secured with a metal mason jar band.


Monday, May 7, 2012

Foreign Exchange Student

Pin It
My family is excited about the possibility of hosting a high school foreign exchange student next school year.  Part of the application process involves sending photos of your home.  We're sort of in a pickle, as I am out of color printer ink (bought the wrong kind...again!).  With the application due ASAP, I am hoping that a link to my blog will suffice.  There are dozens of photos of my home on the blog, but this post will highlight the areas that were requested.  Please pardon the poor lighting. I quickly snapped these tonight (at 8 p.m.!), but will replace them soon with better photos.  Still, they will serve the purpose!


Kitchen
Family room


K's/Guest bathroom
 
K/Guest bathroom
Tahoe


Guest bedroom


Monday, April 30, 2012

Shade Path

Pin It
On the south side of my home is a small strip of land.  I'd estimate there's only about 8' from the house to the fence.   We've lived here for 8 1/2 years, and this was the very last section of our yard to landscape.  There's a story about why it took so long to get to, but I'll get to that in a bit.  I started on this strip a year ago, and I'm just thrilled with how it's coming along.

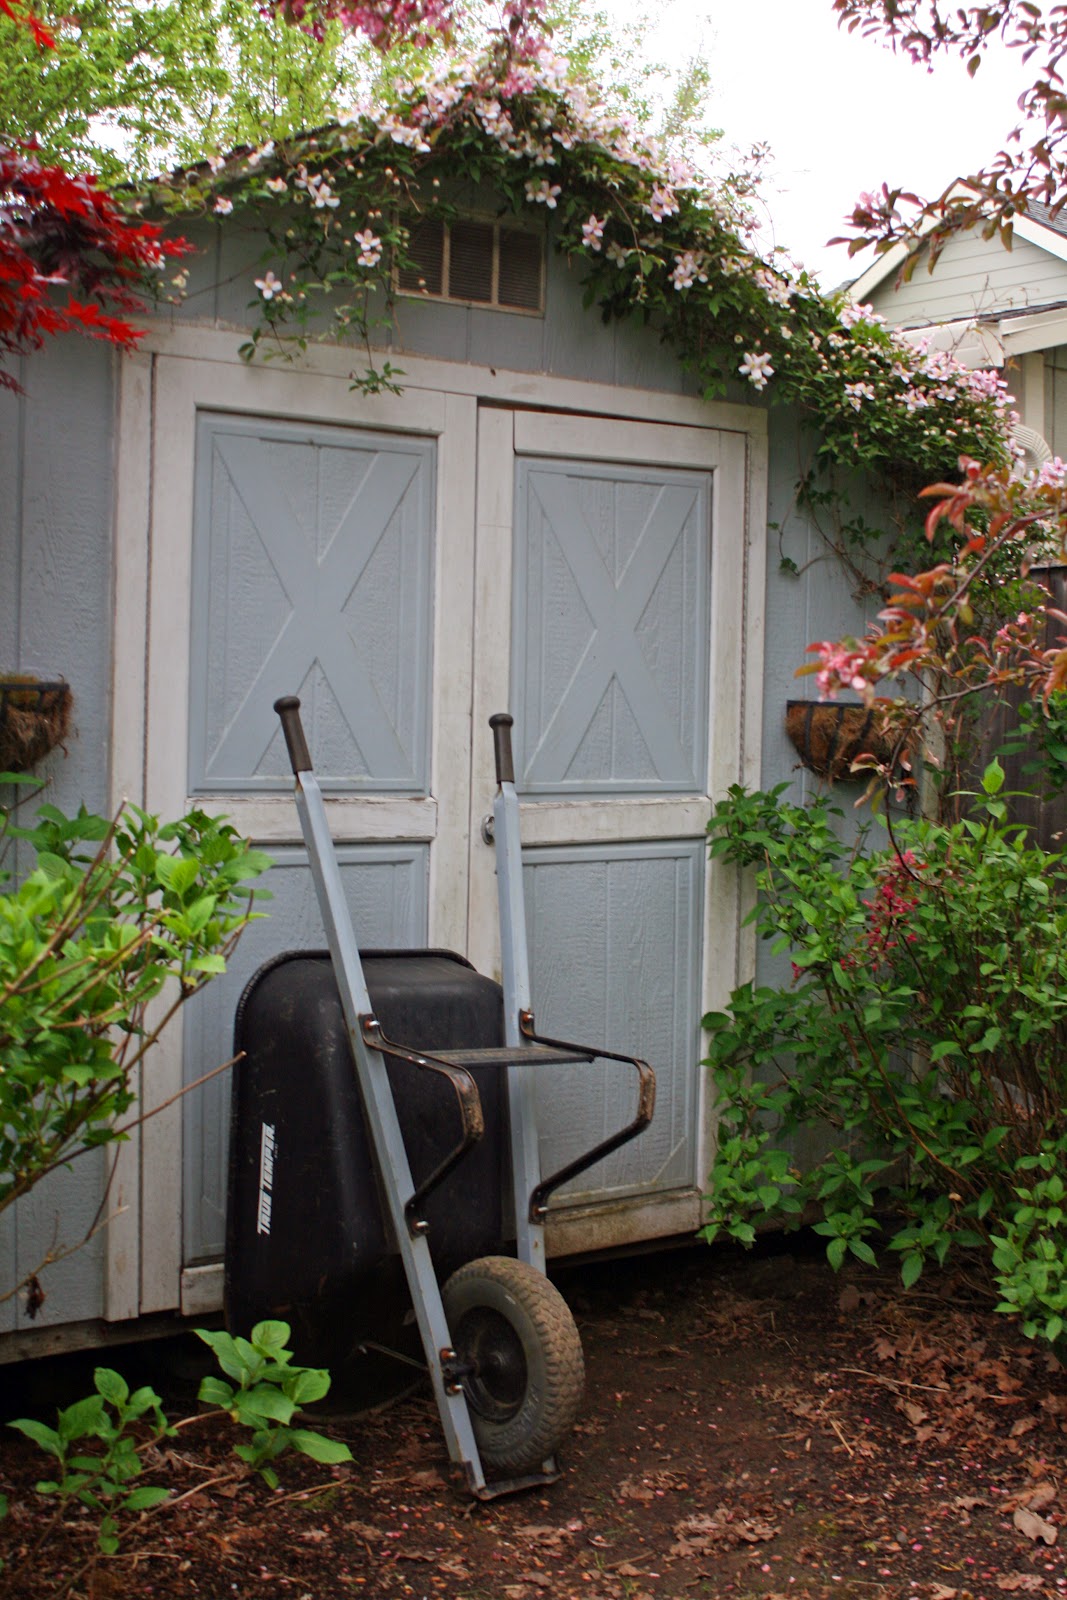
All along the fence I have clematis growing.  Some is doing well.  Some is growing slower than the others.  Some died and need to be replaced.  But once it picks up steam (probably in a couple years), my hope is that large expanse of fence will be covered with vines and flowers.  There are evergreen varieties interspersed with deciduous ones, so that there will be green throughout the year.  My dining room window looks out to this view, and I'm so glad to see a little less brown and a bit more green!

Down lower is a border of bleeding hearts, hellebores (cream, rose and burgandy blooms), pink tulips, creamy soft yellow daffodils, allium, and sweet woodruff on the ground.  I just love when it's all in bloom, and can't wait until the border has a backdrop of clematis running up the fence.

For the path to the gate, I chose Irish Moss which spreads in soft clumps.  I would've loved to have put in a flagstone path, but that was beyond our budget right now.  I have the Irish Moss on the other side of the house, and it's done very well, with light traffic.   When I put in the moss last year, I bought a flat of it, and broke it up into tiny pieces to plug into the ground.  I expect that the mounds will be touching by next year.

While the south side of this path gets full shade, the northern part up against the house gets a lot of sun.  Last year I planted sunflowers, cosmos, and zinnias, and plan to do the same again. I love to look out of my dining room window and see the tall cosmos flowers blowing in the wind.  So much nicer than it used to be!

So why did it take us so darn long to landscape this strip?  Well, when we first moved into the house, a low retaining wall was in place as our yard is slightly higher than the neighbor's yard.  The only problem is that there was a good 18" of our land on the other side of the wall.  When we put up a fence years ago, we could've put the fence on the property line, but the fence would've been very low.  So we chose to put it on our side of the wall.  The only problem was the soil wasn't stable until you came into a yard a bit.  So for years our fence was 2-3 feet in from the property line.  That 2-3 foot strip of land was enclosed in our neighbor's yard!

 Over time we realized that we'd have to do something about that, or we'd end up losing the land.  2 1/2 years ago, our neighbors put their house up for sale.  That was a sign to us that we needed to reclaim the land...immediately.  Not having the money to replace the retaining wall, we went ahead and had a fence company move the existing fence back a few feet...onto the lower land.   The fence had the illusion of being about 2' shorter than it had been.  We could now see so much of our neighbor's yard!


To create the illusion of height, we had the fence posts extend 2' above the fence.  Then I ran galvanized wire from post to post and planted the clematis.    Right now we have about 10 clematis plants growing and only one is tall enough to have reached the wire above the fence.  I can't wait until the other plants get that tall!